
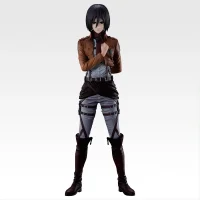
B
Gallery (2 photos)

Back to catalogue
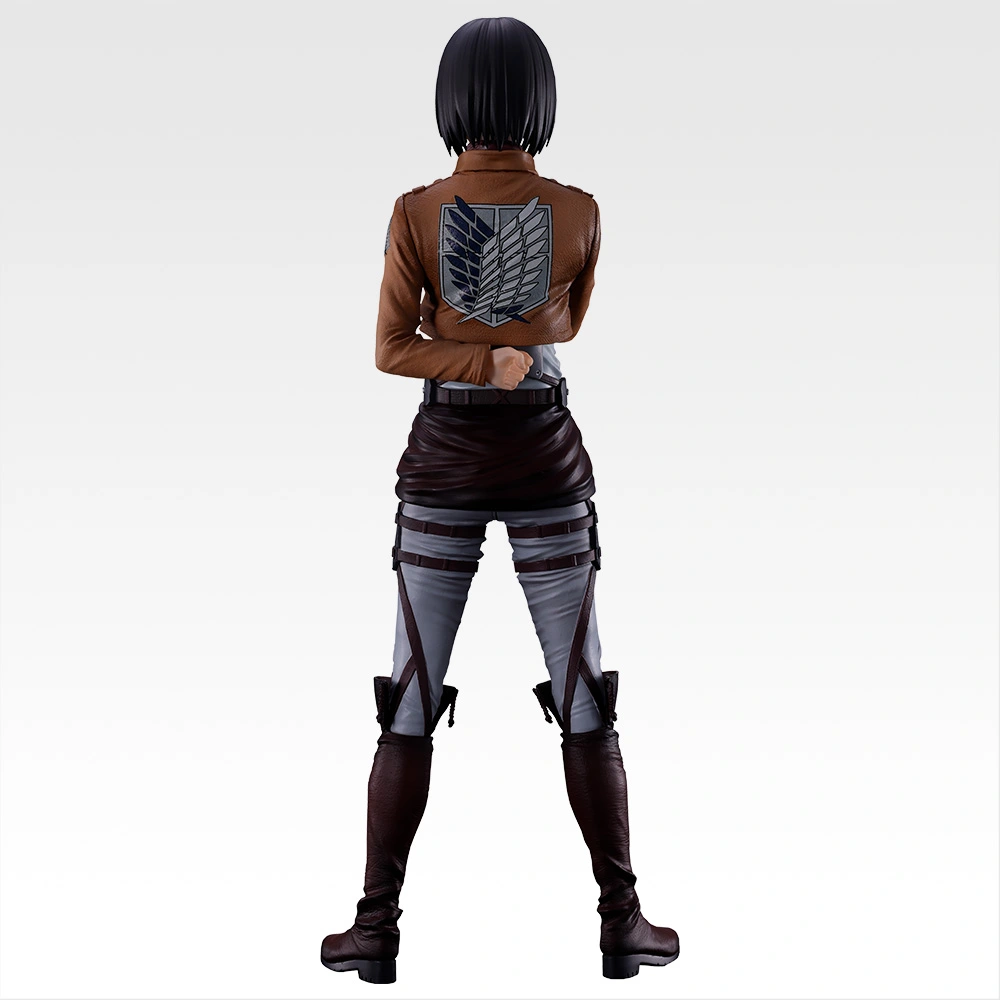
Prize B
Mikasa MASTERLISE
Figures
Size
Approx. 24.5 cm
Lottery
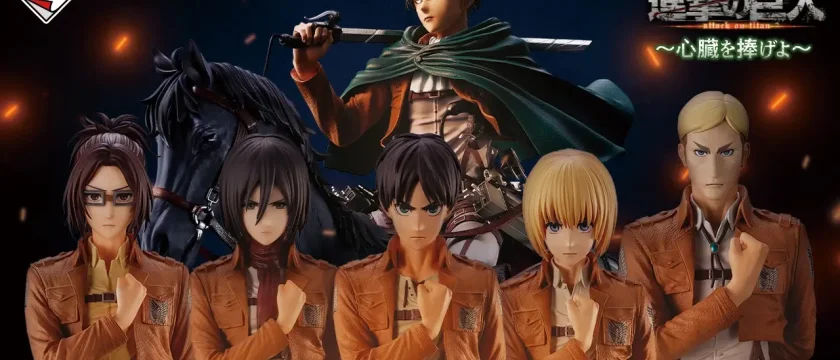
Ichiban Kuji Attack on Titan ~ Dedicate Your Hearts ~
Log in to manage your collection and wishlist
Log inFrom the same lottery
Attack on Titan
Ichiban Kuji Attack on Titan ~ Dedicate Your Hearts ~
7 prizes
Character(s)

Community
Join the adventure
Your contribution makes this site better for the entire Ichiban Kuji community